Looking for a quick pick-me-up project that is both fun to make and is great for both gifting and selling? Well look no further because we've got you covered with a new template that takes a speedy project and makes it even quicker and easier!
Introducing The Two-Tone Wrist Buddy Template from The Heartwood and Hide Co.!
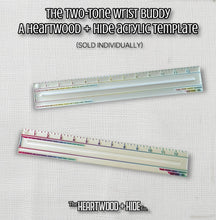
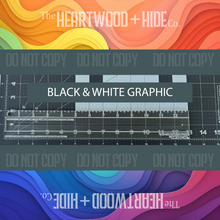
This listing is for a 2"W x 13"H acrylic template that, when used correctly, allows you to easily and efficiently prep the loop portion of a 1" wrist strap / key-fob keychain that has different materials for the Exterior and Interior (this is where the "two-tone" comes from).
Step-by-step instructions can be found at the bottom of this listing description as well as printed and included with your template when you purchase.
We love using this template to quickly whip up gifts, make some small impulse-buy keychains for markets and events, and more!
An optional adder of a trial size roll of ½" double-sided tape is available in this listing!
If you do not have ½" double-sided tape already, we highly recommend selecting the adder option and giving it a try!
Additional Details
- Laser cut
- Material: Clear or Frosted Clear Acrylic
- Template Size:2"W x 13"H
DIRECTIONS ON HOW TO USE THE TWO-TONE WRIST BUDDY TEMPLATE:
Step 1: Cut 1 Exterior and Cut 1 Interior piece of material using the perimeter of the template (either trace and cut or use a rotary around it).
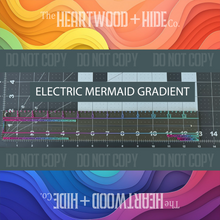
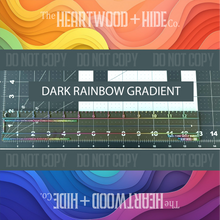
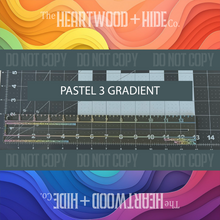
**PRO-TIP: When cutting out your materials at the beginning, use the colorful guide lines running down the long ways interior inch of the template as a guide of what will be showing on your completed project. This is called the “Fussy Cutting Friend Zone” on the template.**
Step 2: On the WRONG SIDE of both the Interior and Exterior materials, use the cutout in the middle of the template to mark your long ways center midline.
Step 3: Using 1/2” double-sided tape, run a strip of tape along your marked midline from step 2 on both the Exterior and Interior materials.
Step 4: On both your Exterior and Interior, separately fold the long edges of each individual material wrong sides together, having its edges meet up at the marked midline.
Step 5: Run a strip of double-sided tape down the center (long ways) of the folded/joined side of either the Exterior or Interior. Now stick the Exterior and Interior materials wrong sides together. Now take it to your sewing machine!
Step 6: Topstitch around the perimeter of your project. I recommend anywhere from 1/8” to 1/16” seam allowance.
Step 7: With project now sewn together, join interior ends right sides together and either clip in place or tape short sides together with double-sided tape. You should now have the completed loop section of your project.
Step 8: Using your favorite pair of rubber coated pliers and 1” key-fob hardware, clamp down your hardware around the joined ends of the sewn loop.
Congratulations! You now have a completed key-fob wrist strap / keychain!


